
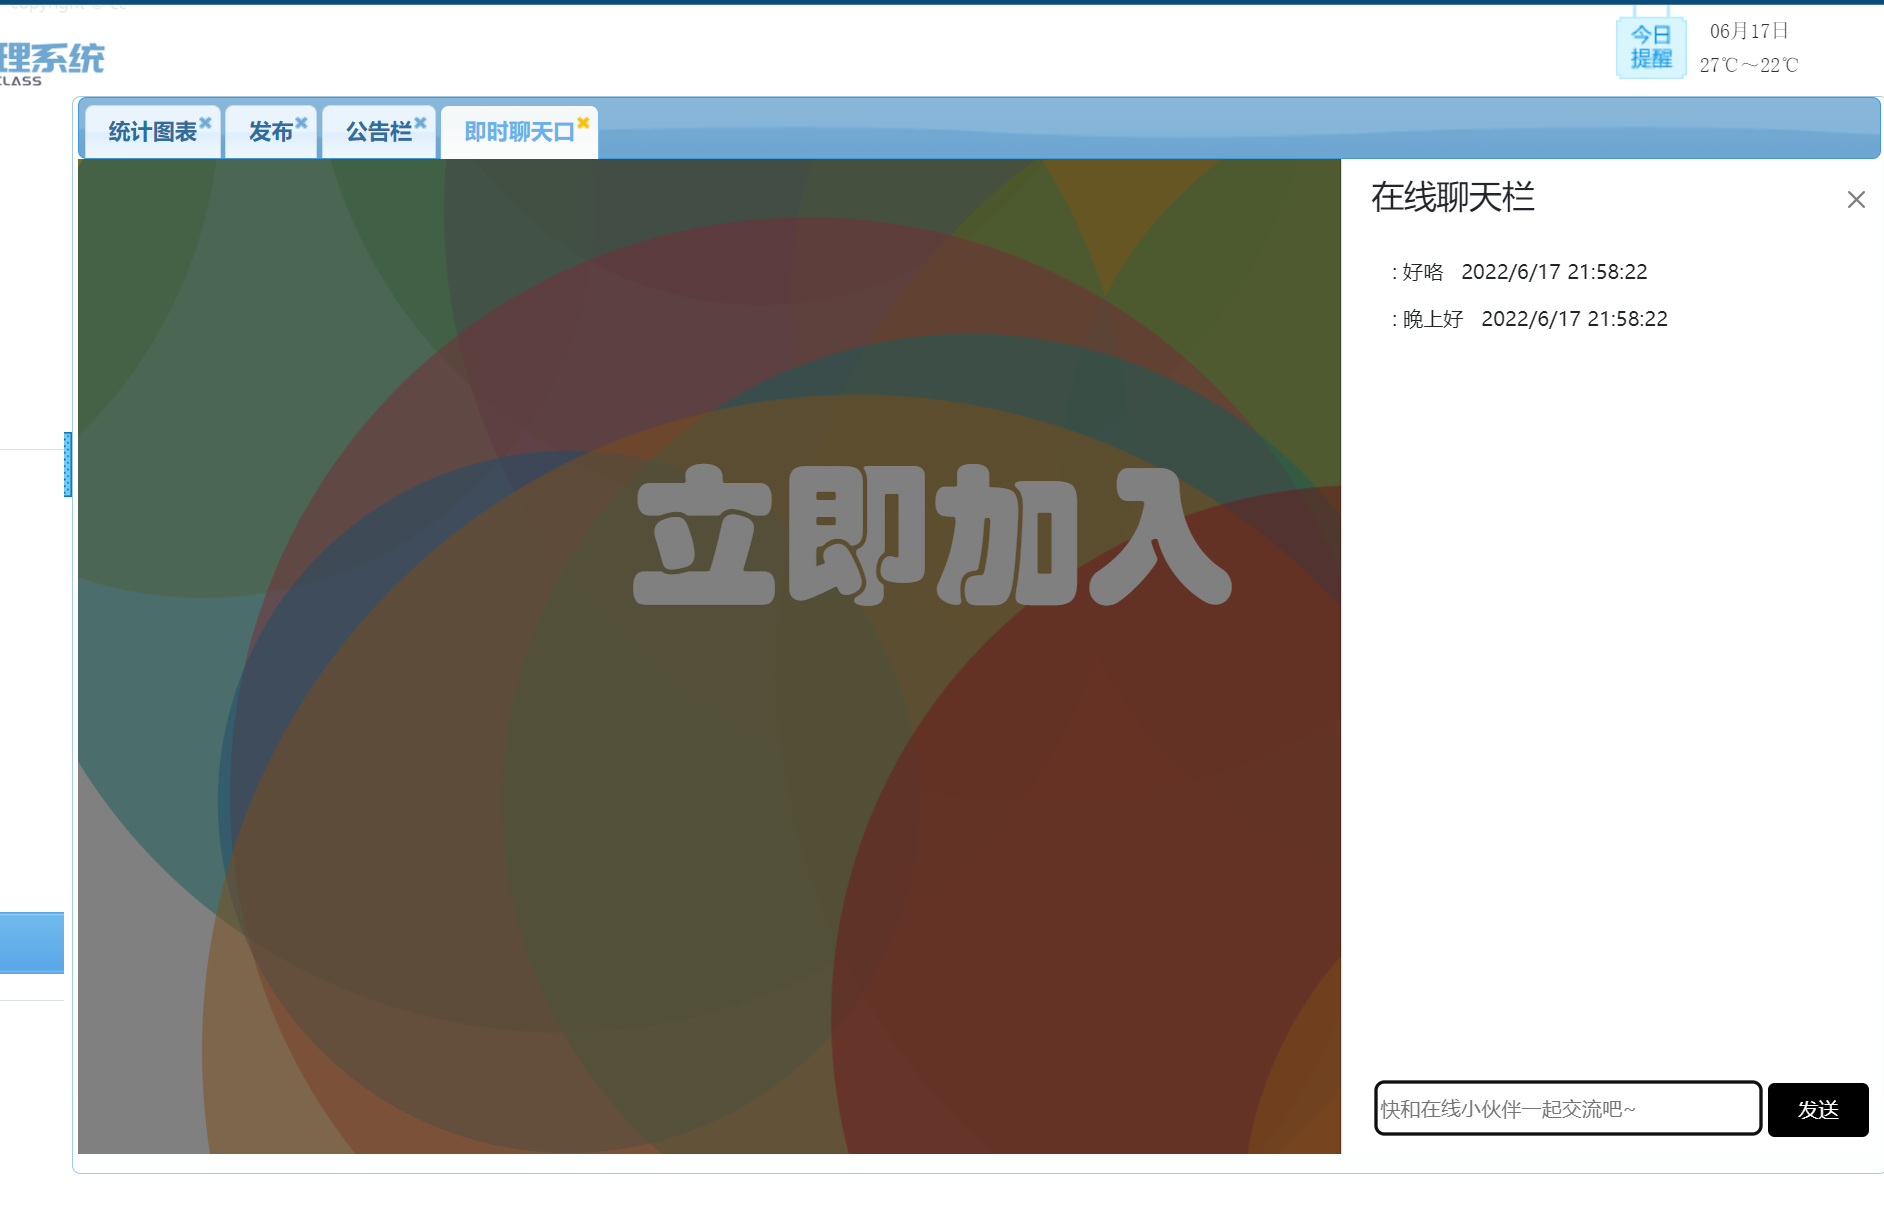
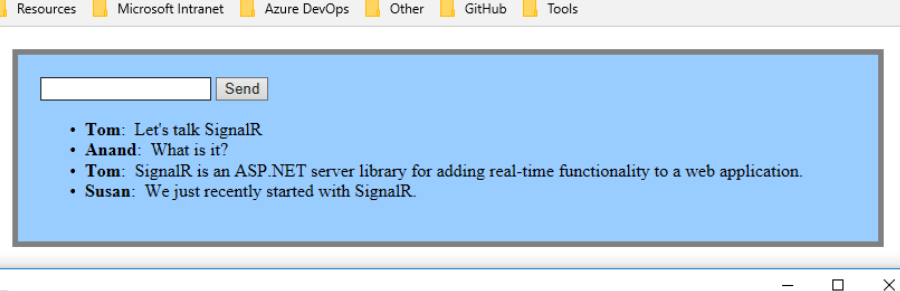
效果圖先附上: 首先 這是我是參考 教程:使用 SignalR 2 和 MVC 5 實時聊天 | Microsoft Docs 先附上教程: 在“添加新項 - SignalRChat”中,選擇 InstalledVisual> C#>WebSignalR>,然後選擇 SignalR Hub 類 (v ...
效果圖先附上:
首先 這是我是參考 教程:使用 SignalR 2 和 MVC 5 實時聊天 | Microsoft Docs
先附上教程:
-
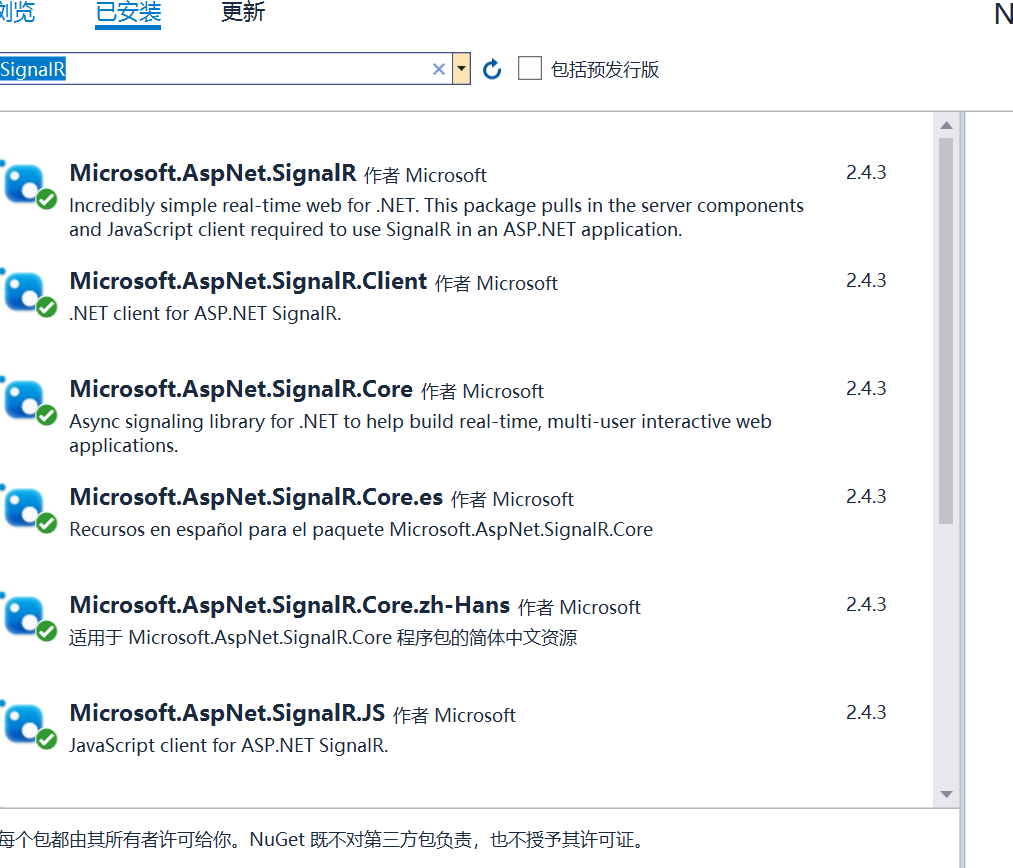
在“添加新項 - SignalRChat”中,選擇 InstalledVisual> C#>WebSignalR>,然後選擇 SignalR Hub 類 (v2) 。
-
將類 ChatHub 命名並添加到項目中。
此步驟將創建 ChatHub.cs 類文件,並將一組支持 SignalR 的腳本文件和程式集引用添加到項目中。

-
將新 ChatHub.cs 類文件中的代碼替換為以下代碼:
-
using System;
using System.Web;
using Microsoft.AspNet.SignalR;
namespace SignalRChat
{
    public class ChatHub : Hub
    {
        public void Send(string name, string message)
        {
            // Call the broadcastMessage method to update clients.
            Clients.All.broadcastMessage(name, message);
        }
    }
}
-
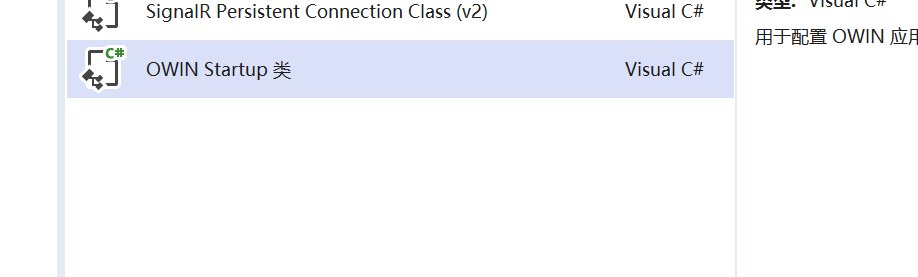
在“添加新項 - SignalRChat”中選擇“InstalledVisual> C#>Web”,然後選擇“OWIN 啟動類”。
-
將類 命名為 Startup 並將其添加到項目中。
-
將 Startup 類中的預設代碼替換為以下代碼:
-
using Microsoft.Owin;
using Owin;
[assembly: OwinStartup(typeof(SignalRChat.Startup))]
namespace SignalRChat
{
    public class Startup
    {
        public void Configuration(IAppBuilder app)
        {
            // Any connection or hub wire up and configuration should go here
            app.MapSignalR();
        }
    }
}
將前端視圖的樣式替換(註意是佈局頁 引用分部頁,不是普通的視圖)
 View Code
-
控制器
如果實現了以上 效果如圖
如果要實現側邊欄展示 那麼需要把內容替換一下

@{ ViewBag.Title = "Chat"; Layout = "~/Views/Shared/_LayoutChat.cshtml"; } @using 奈班級學生管理系統.Models; <style> #content { width: 263px; height: 100%; @* border: 1px solid #808080;*@ border-radius: 15px; @*background-image: url('../../jsCSSImg/Images/mmexport1655381646980.jpg');*@ /*background-image: url('../../jsCSSImg/Images/QQ圖片20220616195500.gif');*/ } #foot { position: fixed; bottom: 10px; margin-left: 10px; white-space: nowrap; /*不換行*/ } .offcanvas { overflow:auto; } .offcanvas-body{ margin-bottom:30px; } .ljjr { color: white; position: fixed; left: 30%; bottom: 55%; width: auto; height: 110px; font-size: 90px; font-family: 華文琥珀; border: 0px; /* border-radius: 20px; */ background-color: rgb(255,0,0,0.0); } </style> <link href="~/Content/bootstrap.css" rel="stylesheet" /> <p id="UserName" style="display:none;">@ViewBag.name</p> <p id="time" style="display:none;">@ViewBag.time</p> <body> <div id="tsparticles"><canvas class="tsparticles-canvas-el" width="2133" height="1249" style="width: 100%; height: 100%; position: fixed; z-index: -1; top: 0px; left: 0px; background-color: rgb(255, 255, 255); pointer-events: initial;"></canvas></div> </body> <button class="ljjr" type="button" data-bs-toggle="offcanvas" data-bs-target="#offcanvasRight" aria-controls="offcanvasRight">立即加入</button> <div class="offcanvas offcanvas-end" style=" width:30%" tabindex="-1" id="offcanvasRight" aria-labelledby="offcanvasRightLabel"> <div class="offcanvas-header"> <h3 class="container">線上聊天欄</h3> <hr style="color:#ccc" /> <button type="button" class="btn-close text-reset" data-bs-dismiss="offcanvas" aria-label="Close"></button> </div> <div class="offcanvas-body"> <div class="" id="content"> <ul id="discussion"> </ul> <div id="foot"> <input placeholder="快和線上小伙伴一起交流吧~" type="text" id="message" style="width: 230px; border: 1px solid #000000;height:32px;border-radius:5px;" /> <input type="button" id="sendmessage" value="發送" class="btn" style="background-color: #000000; color: white; width: 22%; height: 32px; border-radius: 4px; " /> <input type="hidden" id="displayname" /> </div> </div> </div> </div> @section scripts { <script src="~/Scripts/tsparticles.preset.bigCircles.bundle.js"></script> <link href="https://cdn.staticfile.org/twitter-bootstrap/5.1.1/css/bootstrap.min.css" rel="stylesheet"> <script src="https://cdn.staticfile.org/twitter-bootstrap/5.1.1/js/bootstrap.bundle.min.js"></script> <!--Script references. --> <!--The jQuery library is required and is referenced by default in _Layout.cshtml. --> <!--Reference the SignalR library. --> <script src="~/Scripts/jquery.signalR-2.2.2.min.js"></script> <script src="~/Scripts/jquery.signalR-2.4.3.js"></script> @* <script src="~/Scripts/jquery.signalR-2.1.0.min.js"></script>*@ <!--Reference the autogenerated SignalR hub script. --> <script src="~/signalr/hubs"></script> <!--SignalR script to update the chat page and send messages.--> <script> tsParticles.load("tsparticles", { preset: "bigCircles" }); @* //在此代碼塊中,將在腳本中創建回調函數。*@ $(function () { // Reference the auto-generated proxy for the hub. var chat = $.connection.chatHub; // Create a function that the hub can call back to display messages. chat.client.addNewMessageToPage = function (name, message) { // Add the message to the page. var time = $("#time").html(); @* alert(time)*@ $('#discussion').append('<p><strong>' + htmlEncode(name) + '</strong>: ' + htmlEncode(message) +" "+time + '</p>'); }; // Get the user name and store it to prepend to messages. var name = $("#UserName").html() @* alert(name)*@ $('#displayname').val(name); // Set initial focus to message input box. $('#message').focus(); // Start the connection. //此代碼將打開與中心的連接 $.connection.hub.start().done(function () { $('#sendmessage').click(function () { // Call the Send method on the hub. chat.server.send($('#displayname').val(), $('#message').val()); // Clear text box and reset focus for next comment. $('#message').val('').focus(); }); }); }); // This optional function html-encodes messages for display in the page. function htmlEncode(value) { var encodedValue = $('<div />').text(value).html(); return encodedValue; } </script> }View Code
註意 有一些路徑需要改成自己的


